Contents
Internals
Upon removing the windowed side panel, we can see the LED backlight. The window itself is slightly larger than its cutout opening, to allow for its its rim to be bent over the steel edges. Then there are small metal holders which secure it snugly in place. The LEDs shine into the plastic at a 90° angle while the whole window than acts as a light conductor.
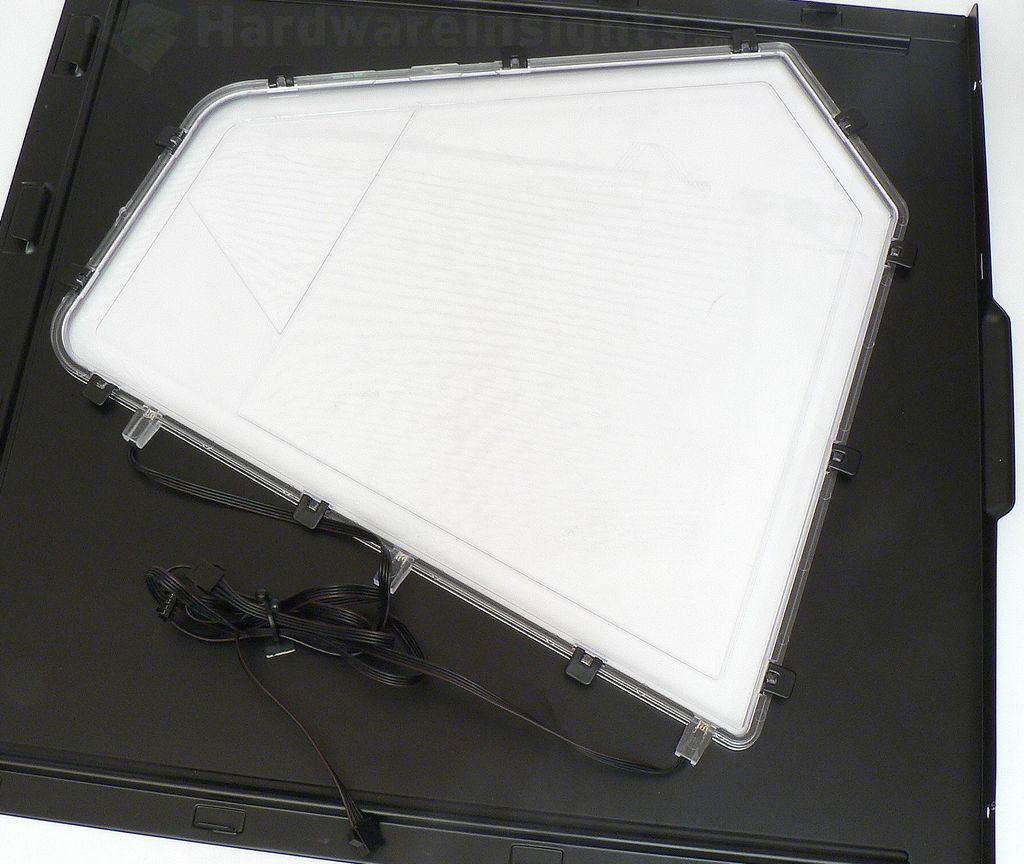
However, as the glass lacks any reflective points which would angle the light passing through it by 90 degrees so it can pass through (as light-conducting glass does in liquid crystal displays), the effect is not as profound as Azza depicts in their animations. See for yourself. If you ask me, it’s nothing to write home about. I personally didn’t notice any flicker, but perhaps somebody else could, as most likely PWM is used for the dimming.
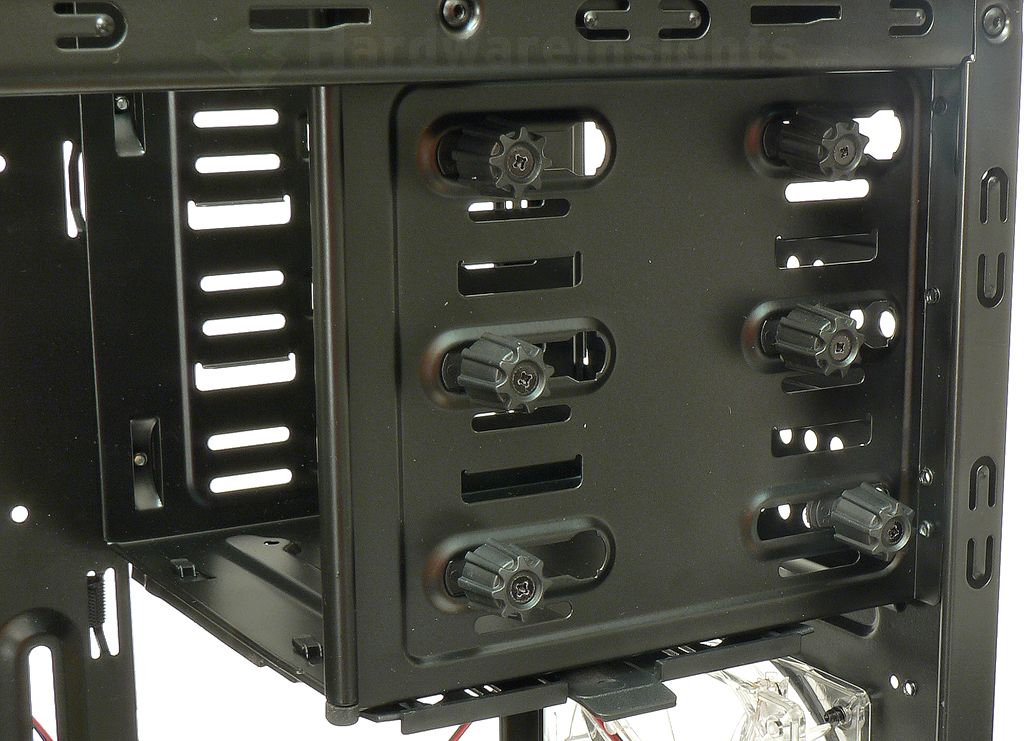
Inside the CSAZ-5000B we find quite a common layout where the drive cages are placed in the front. The 5.25″ cage is facing front for three of the externally-accessible positions, while hard-drive cages are turned to 90 degrees, accessible from both sides only (with no 3.5″ external access). The middle one is easily removable while the bottom one is attached to the case using screws from underneath (see picture on the previous page).

The 5.25″ cage is an integral part of the CSAZ-5000B and can not be removed. But within it is implemented a tool-less drive installation thanks to these pull-pins. You can adjust thr position from left to right if neccessary. One of them came stuck in the wrong position and I had to use some force to correct it, but it worked OK afterwards. Notice the rubber pad on the corner of the cage which covers some sharp edges.
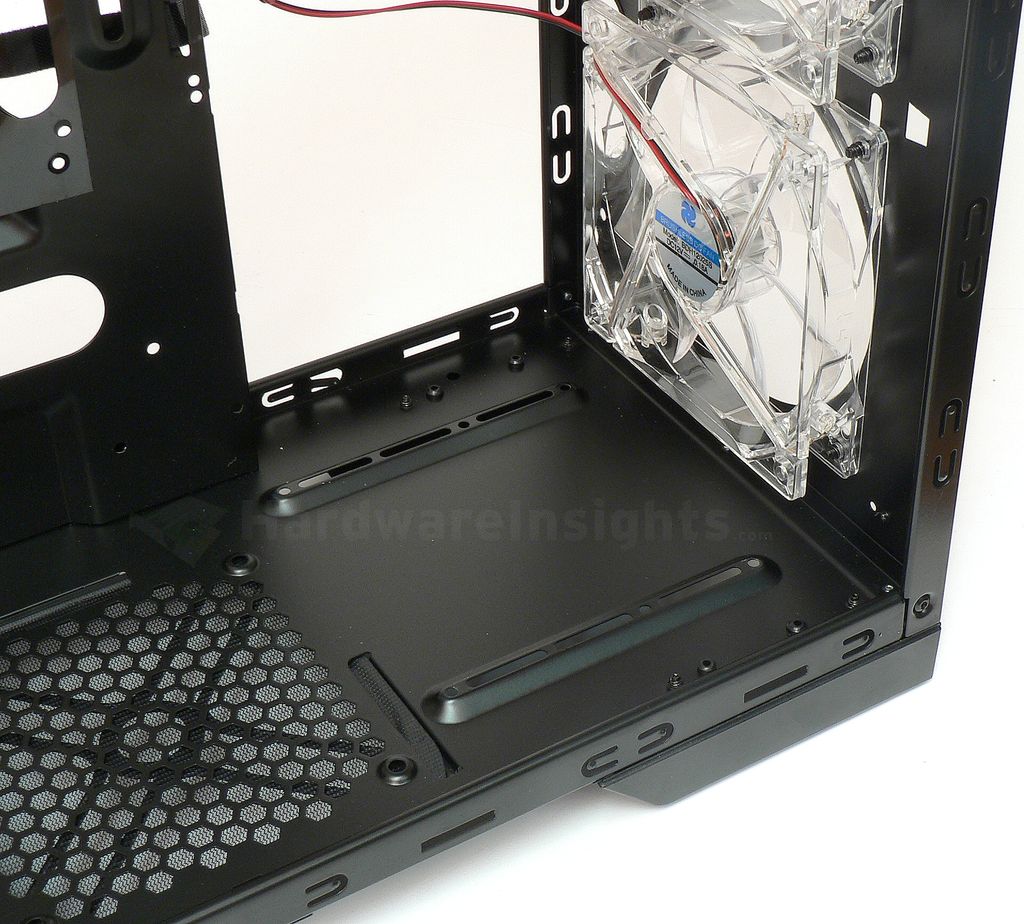
Upon removing the cages both front fans are easily accessible. It also creates large area to install long graphics cards.
The CSAZ-5000B has many different openings for cable management, which is a nice feature. There is also a large opening under the typical location of the CPU which you can use to easily mount larger heatsinks without necessitating the removal of the entire motherboard. Despite this, the motherboard tray is rather sturdy and does not bend that easily.
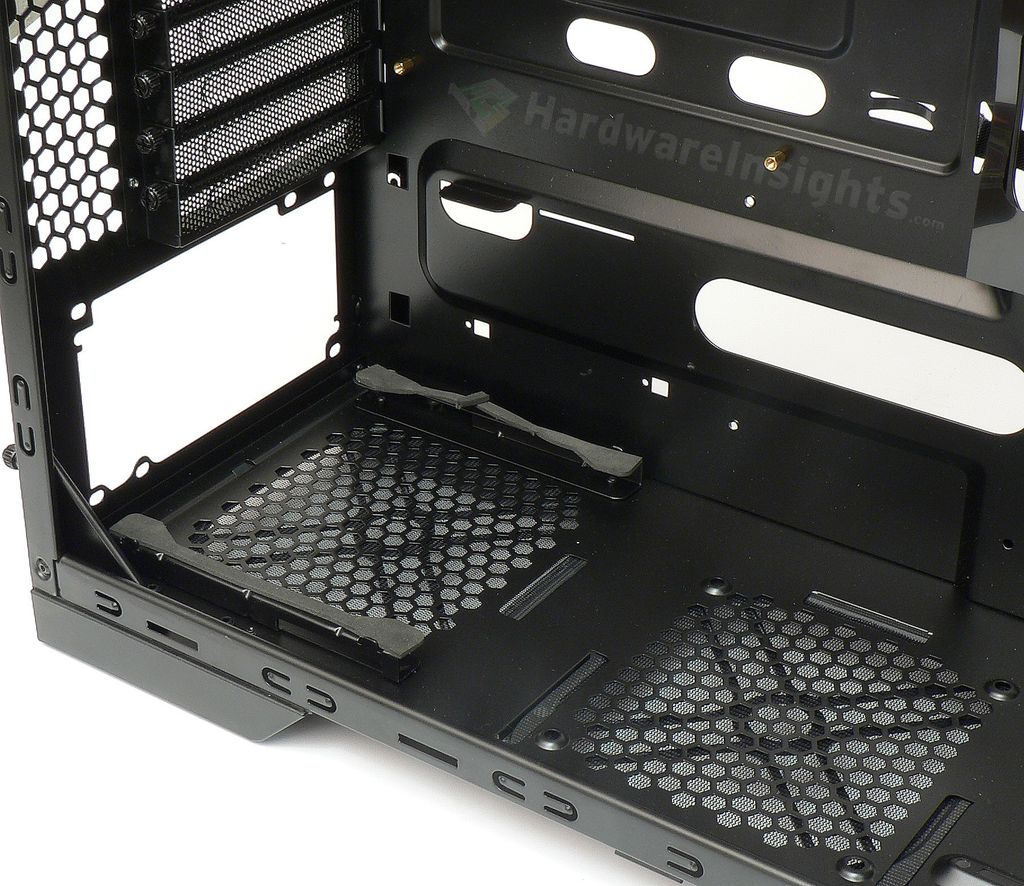
What is not that nice is the foam which has been glued to the PSU mounting base. It is intended to dampen vibrations from the PSU. I acquired the case with a PSU sample (which will be reviewed independently) already mounted inside. I don’t know whether the foam has not been glued properly in the first place, or whether it got loose later. But all in all it was partially torn off, about half of it somehow became askew 180 degrees and got glued to the PSU instead. Something is wrong here…
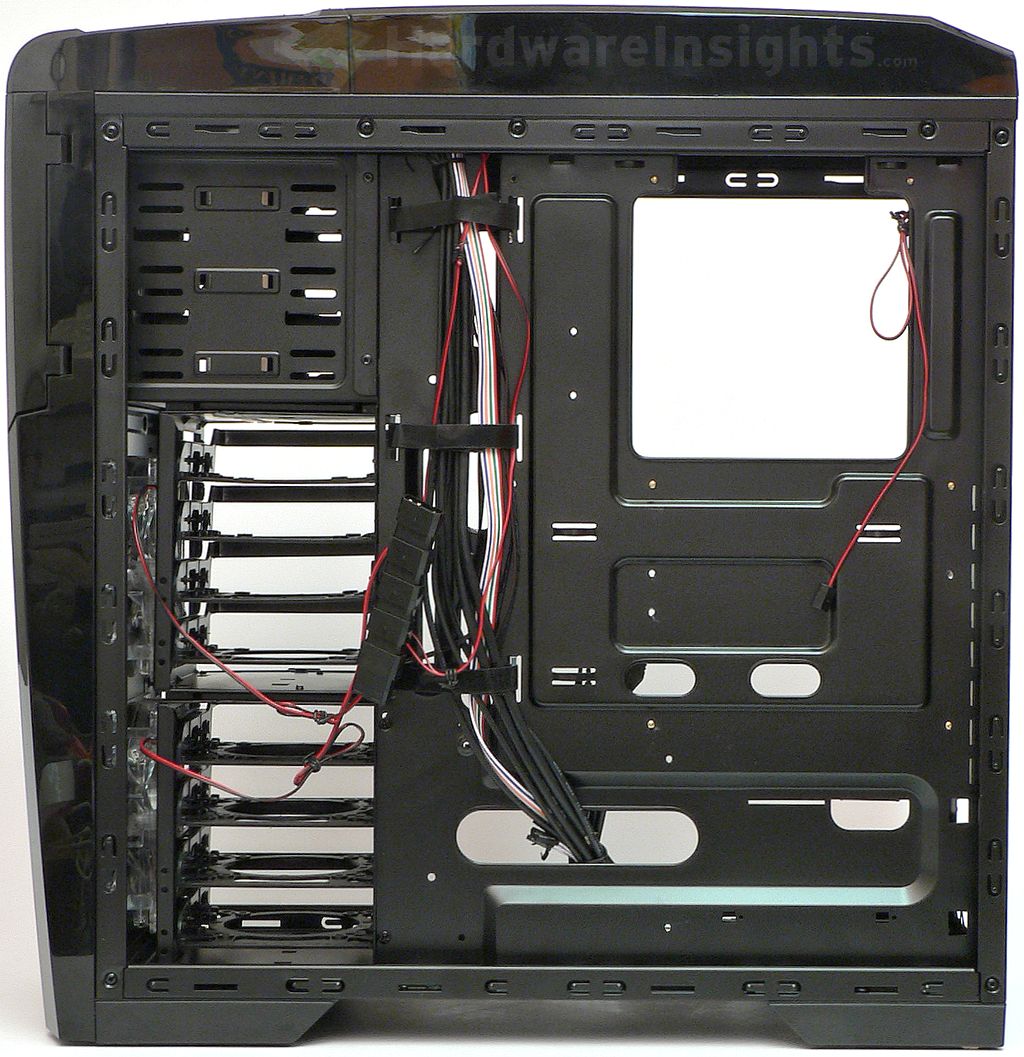
From the other side we can also see that there are not only openings for the cabling, but also velcro ties provided directly from the factory. And also a couple more twist ties which are used as zip ties (for holding cabling throughout the different routes). You can see that the 5.25″ positions only have the pull-pins on one side. On the other side there are just pieces of metal that form retention “springs” that also serve to dampen vibrations. However, as the drives mounted in this method are not firmly fixed from both sides, they do move a tiny bit if you push or pull them with a little bit of force.