Contents
Today we will look at the Acer AL2023 LCD monitor. It is a 20-inch display with P-MVA panel which gives it somewhat better colors and viewing angles than TN while having reasonable 8ms response time. What’s more, it has an aspect ratio of 4:3 with resolution of 1600×1200 points, so really a good monitor even today (which is not that difficult since there is almost nothing not-wide on the market). The contrast is not so great (800:1 while S-PVA from that time were capable of 1000:1 or more) but considering the age, still not bad. It has both digital DVI and analog D-Sub input and even integrated speakers, or maybe more like buzzers (they are really small and not capable of low or very high frequencies).
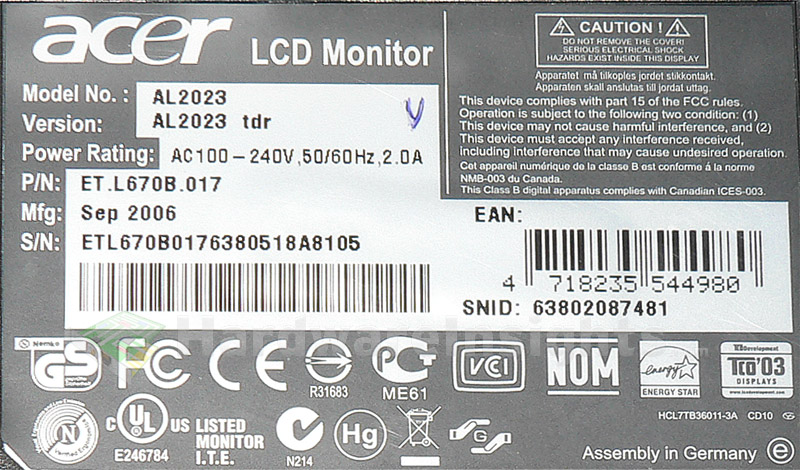
This unit has been manufactured in 2006 and assembled in Germany. Despite having more than a dozen certifications, it is known for its several flaws. Obviously the number of different certifications or labels has nothing to do with the product’s quality (I would sometimes even lean towards saying it is the other way around, the more it tries to shine, the worse junk it is inside).
This one was working for six, maybe seven years before going bad (typical problem, it was not able to even start anymore and when it sometimes did, it had no picture), than it was stored until I acquired it. After repair, I got it back from customer I sold it to after some time because of another problem we will discuss later. So let’s have a look inside! The procedure is as usual: remove the four stand screws, if there are any screws on the back cover, remove them as well. Then crack the plastic cover open, that means the bezel from the backside. There may be visible spaces to help you start, I suggest small flat screwdriver.
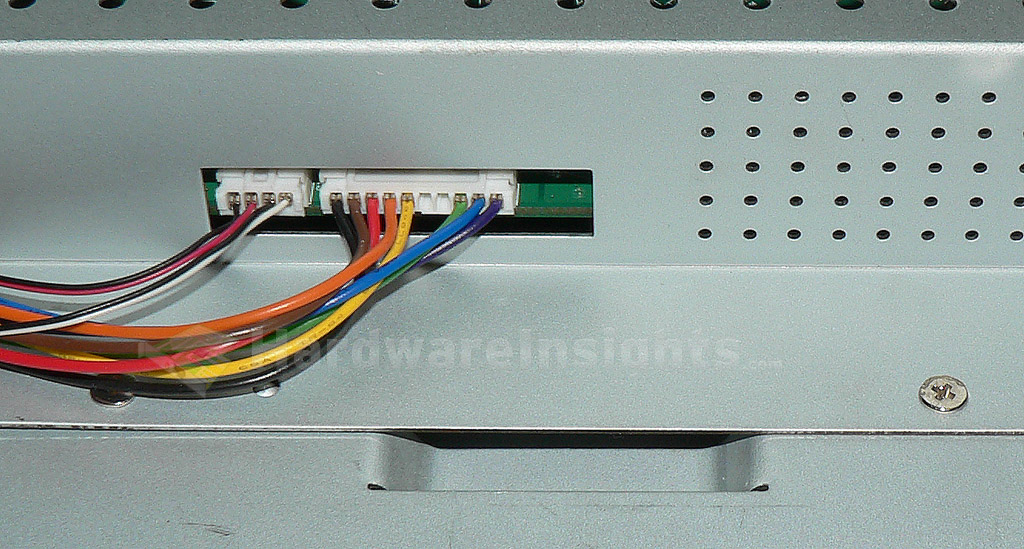
When it is all done, remove the back cover first. There is a button panel and the speakers in the bezel so you have to unplug their cables first. The connectors are plugged into the display’s logic board next to one another. I strongly recommend helping yourself with a small flat screwdriver especially for the speakers’ connector as the wires are thin like hair and you may pull them off. You can insert the screwdrivers corner into that tiny gap in the middle of the connector and create a lever against the metal casing while pulling the connector carefully. The button cable is much easier to pull off.
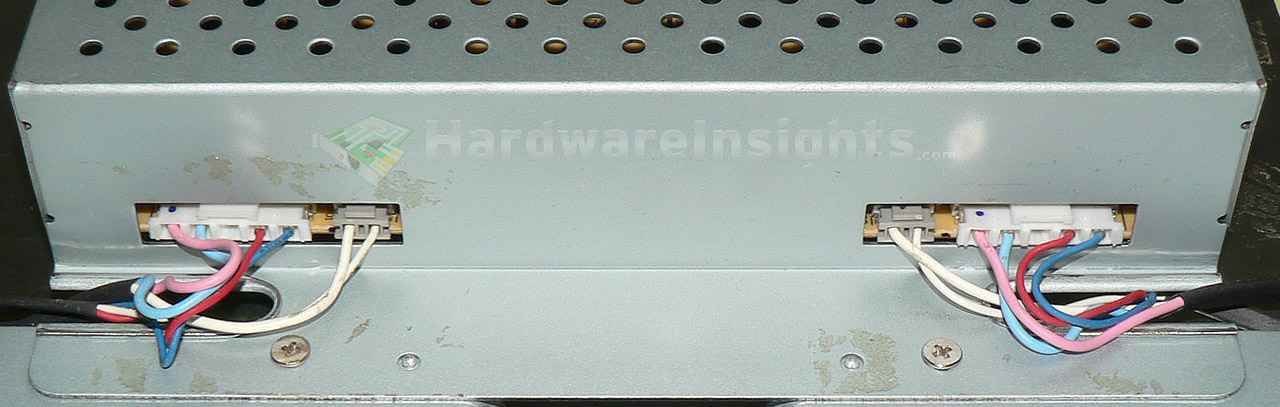
On the other side, there are four connectors carying twelve wires for the CCFL backlights. That means there are six cold-cathode tubes. You need to remove all of them. Then also unplug the LVDS cable from the display itself. This monitor is still made somewhat more solidly so the casing carrying both the signal board and the power board is attached to the display’s main metal body with four screws on each side. Remove all of them as well and then you can finally look at the boards.
Pages: 1 2