Contents
Externals cont’d
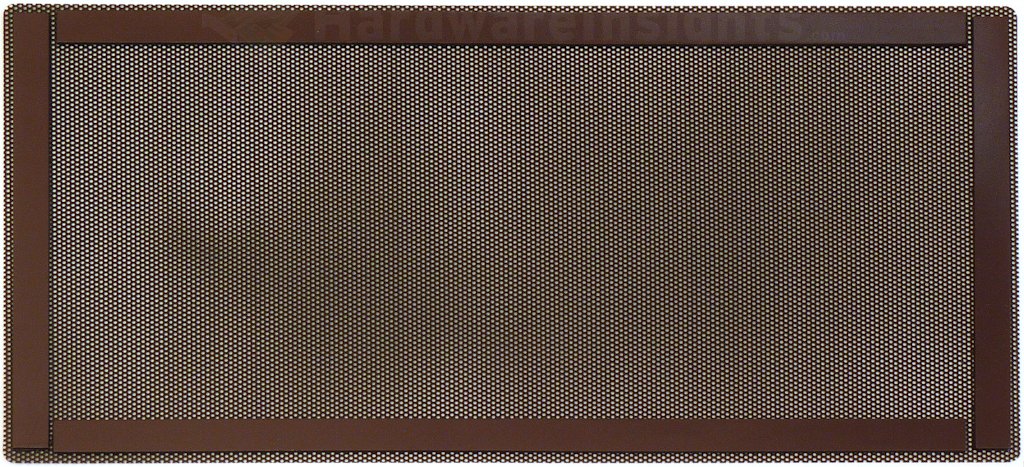
We also have the top part to look at. I think the result is quite elegant and also highly functional. SilentiumPC chose honeycomb openings for the M60W, but the more important part sits on that. It is the top dust filter.
It uses this mesh again, but by the sides there are magnetic strips glued to it. The result is great, I can imagine no easier method of attaching a filter to chassis than via this weak magnet. You can remove it whenever you want with no effort, really great.
Internals
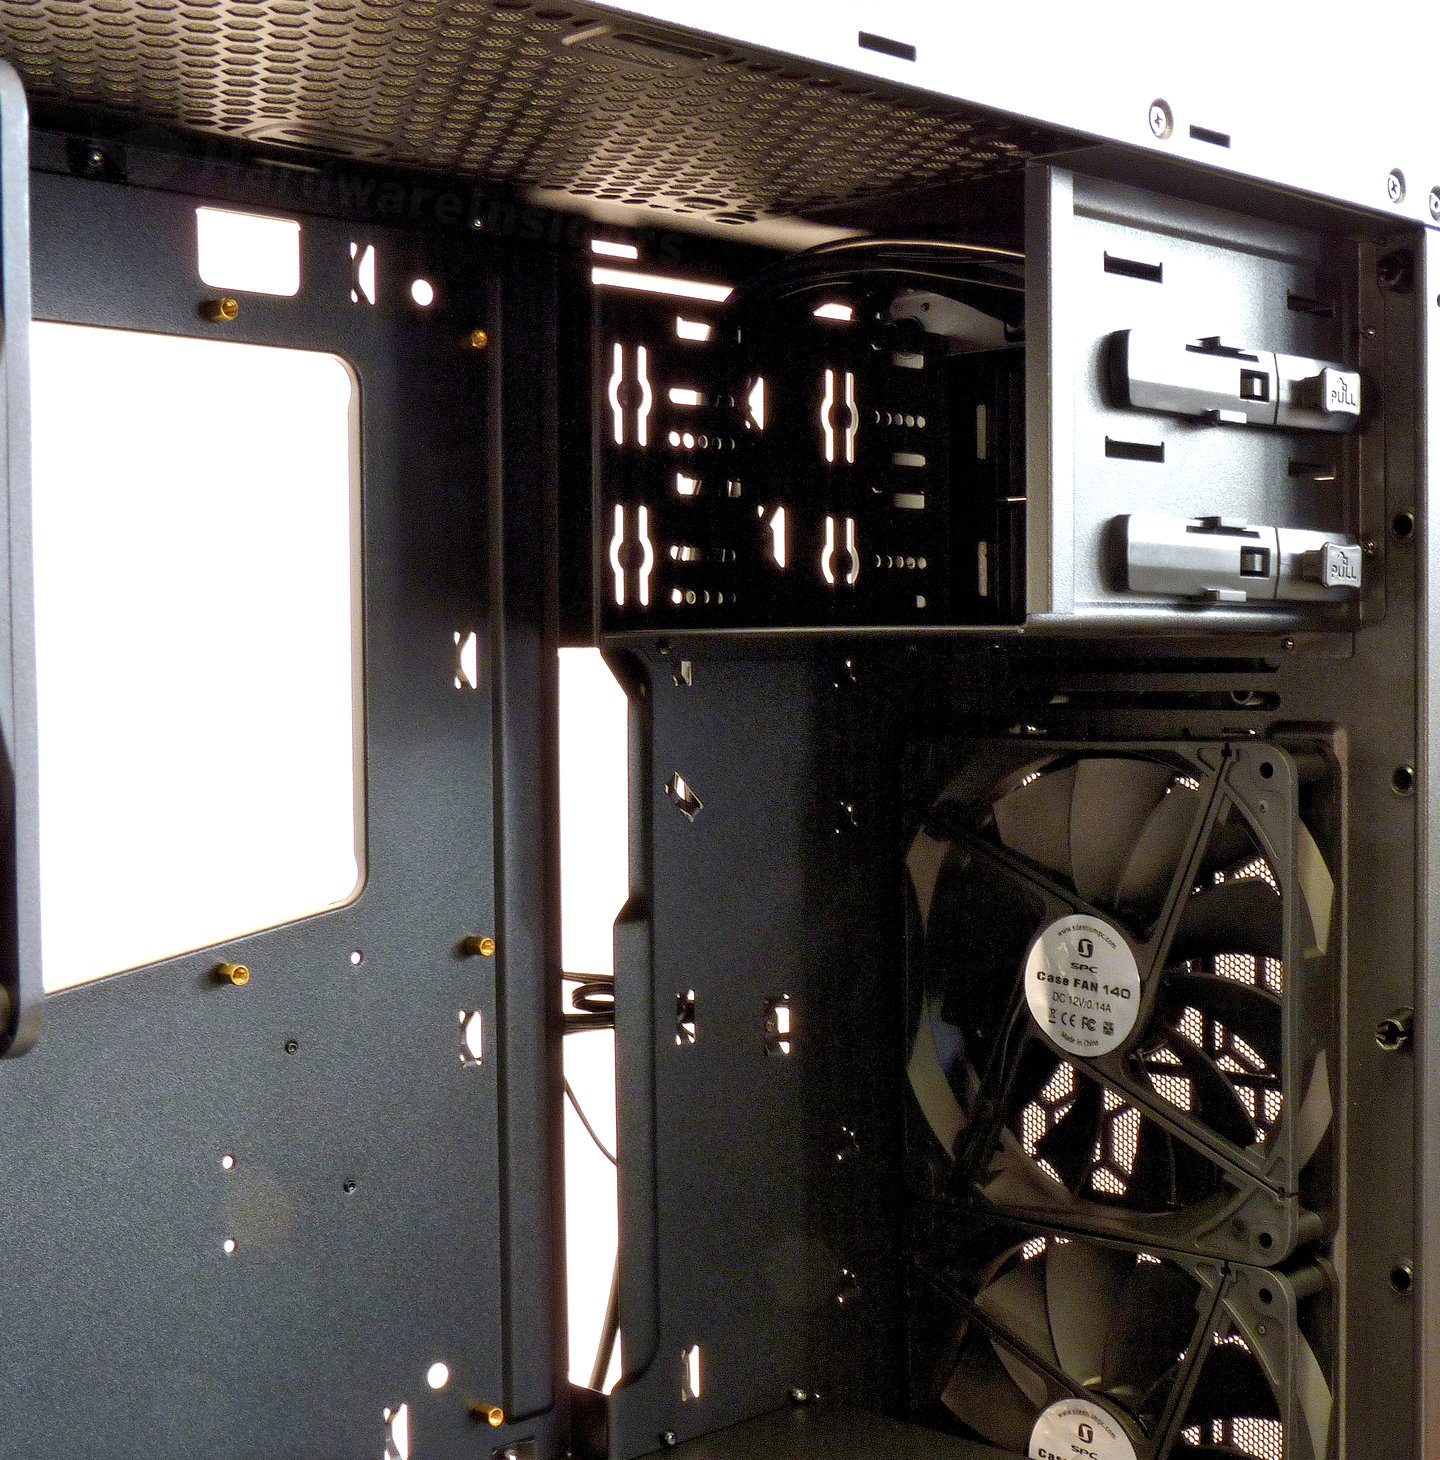
The window in the side panel is totally uninteresting, there is no backlight or anything like that. So let’s talk about the case internals right away. Upon first look we can see the pretty much current mainstream layout. There is the bottom compartment for the power supply and three 3.5″ drives. By removing the trays from their usual position there is large space for long expansion cards now. The whole bottom cover is riveted to the chassis so you cannot remove it.
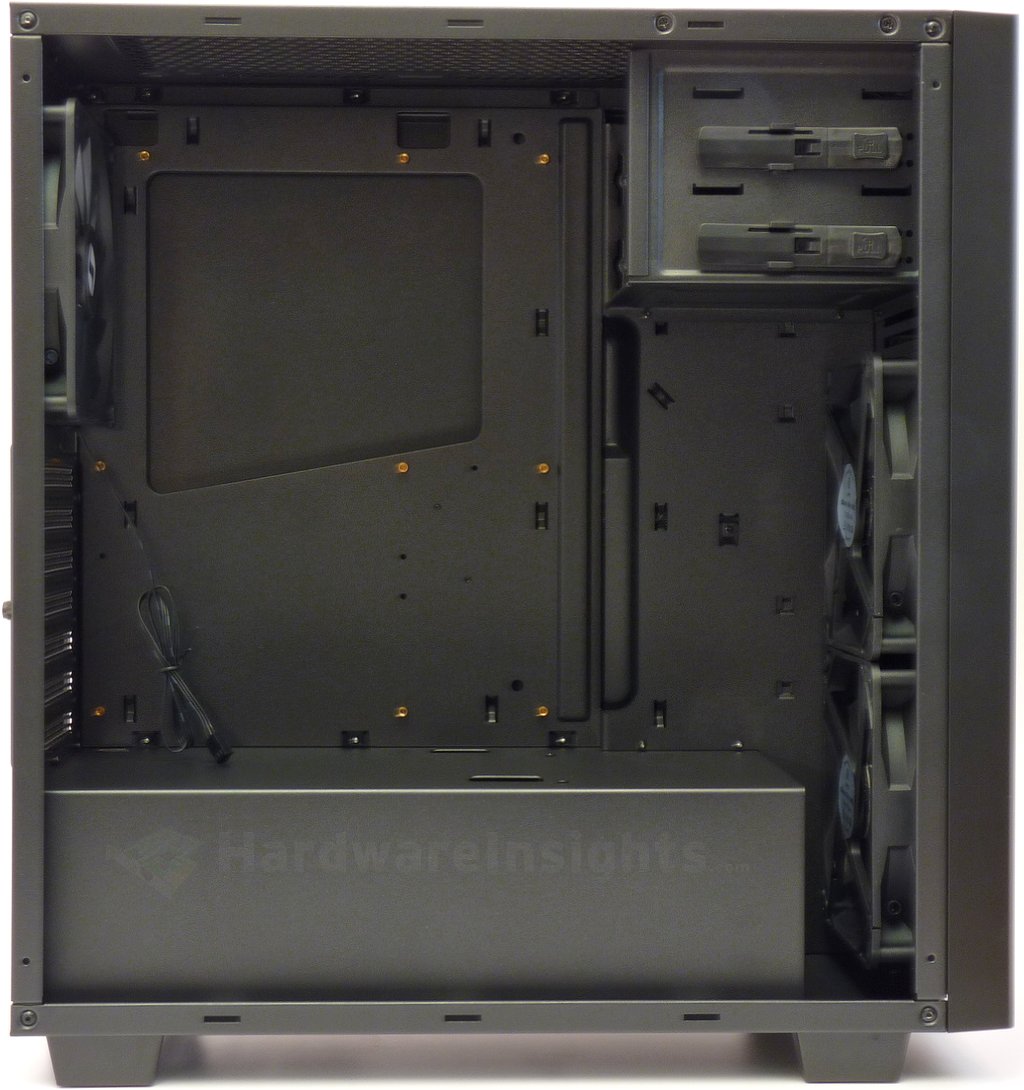
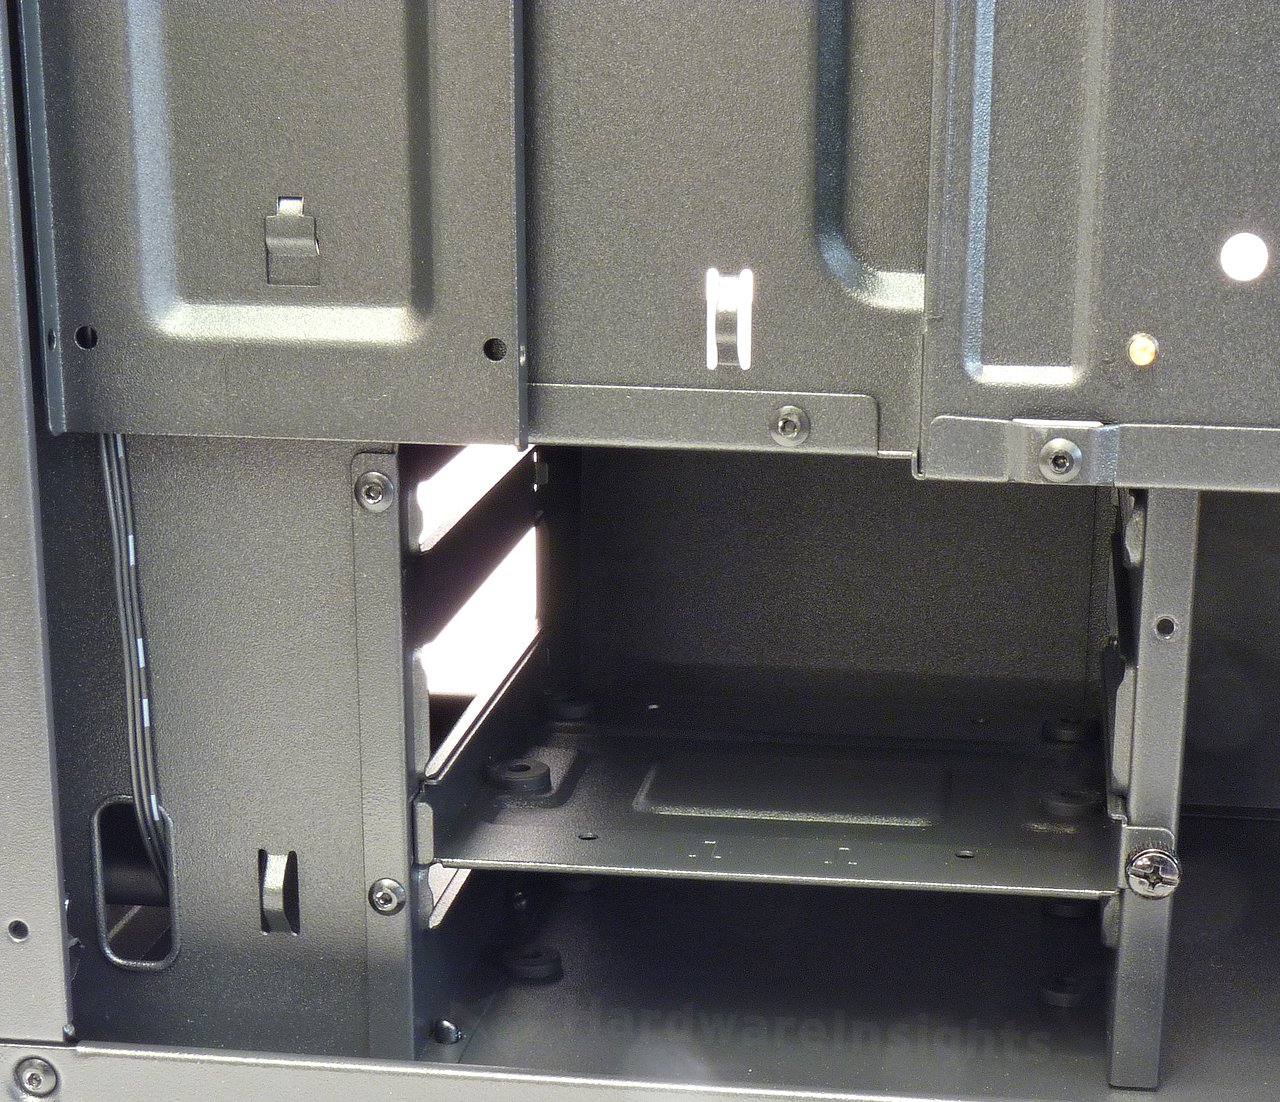
The 5.25″ cage can be removed from the M60W. There are six screws holding it in the case, four on the front side and two on the right side. The whole cage is made from the same material as the chassis, 0.8mm SECC and it is also formed so the result is very firm, unlike those things in Z9 Neo. Plus there is this easy tool-less installation system for the drives. Under it in the motherboard tray you can see large opening to hide cables behind it, similar to the previously reviewed Silverstone PS14. A smaller one is also on the top, just under the fans, most likely for ATX 12 V cable and also fan cabling.
To access the 3.5″ trays you need to remove the other side panel. There is very little space over the power supply so once again, it makes no sense to install it with fan facing upwards as it will have nowhere to get fresh air from. Also fanless PSU won’t work much in all these cases. We can see a lot of positions good for tying the cables once you pass through the openings to this side. Notice the fan controller in the middle of it all and the two 2.5″ caddies on the left side.
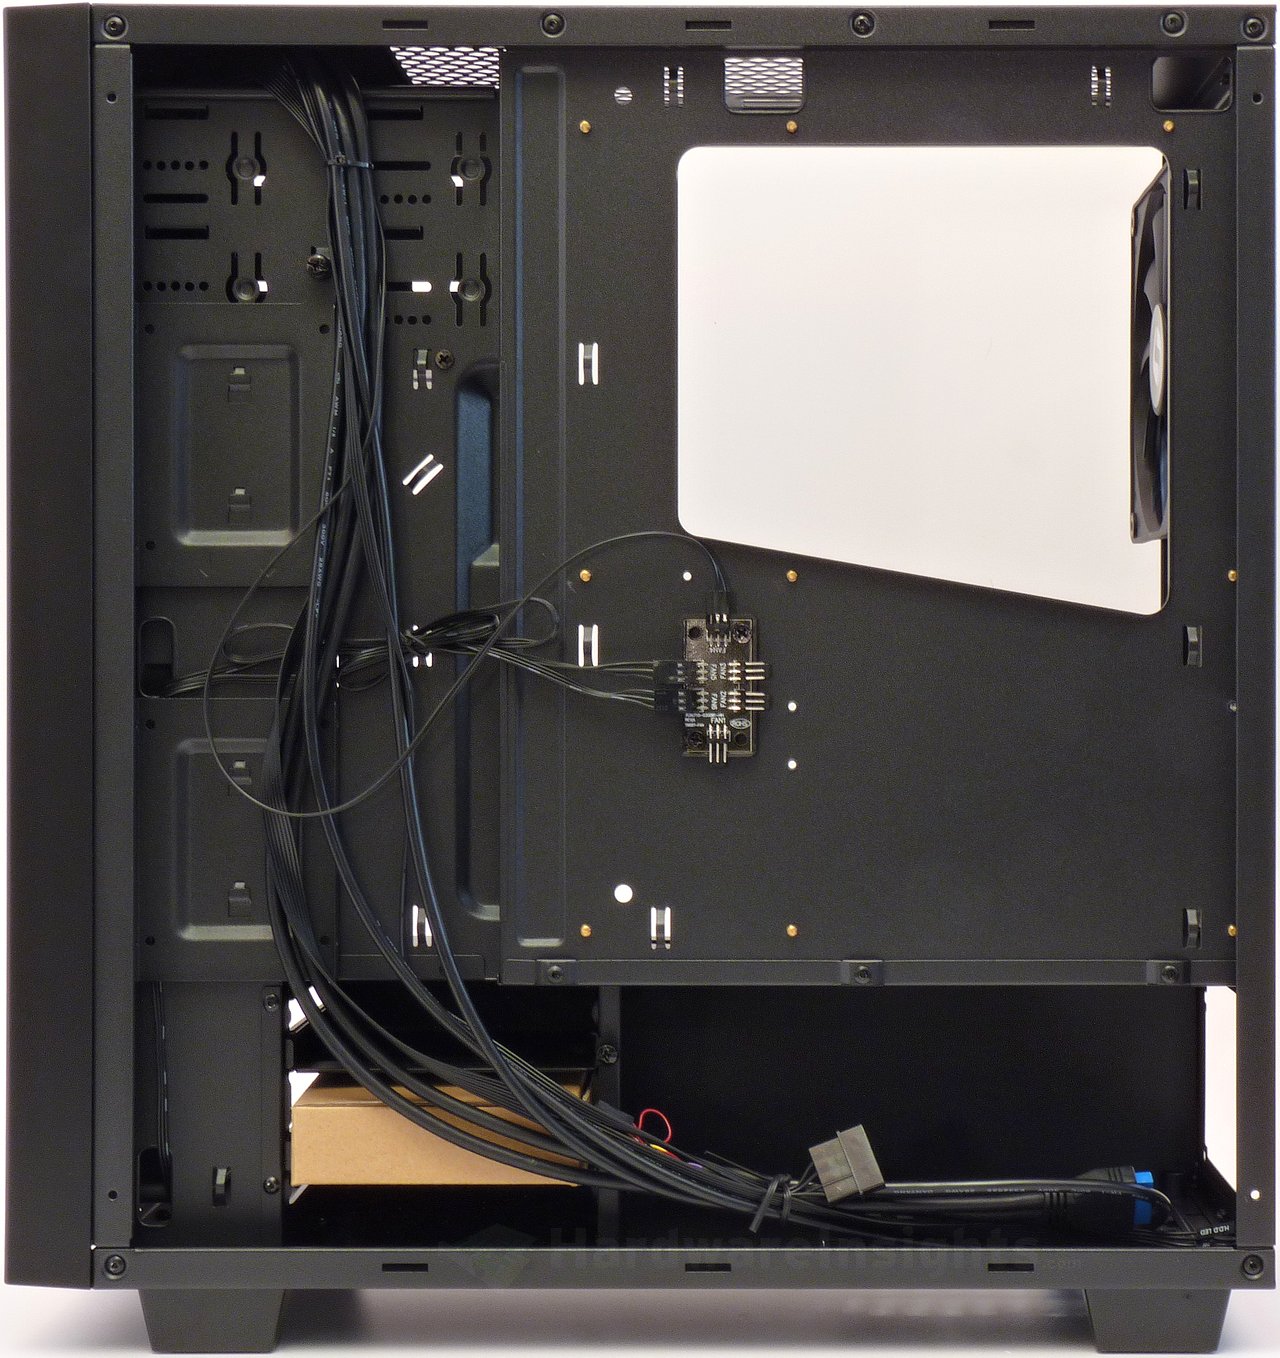
On the closer look we can see the metal HDD trays are secured with a thumbscrew. Also once again we see the position for the third hard drive, which can be mounted on the very bottom of the case, however, not easily removable than.