Contents
Externals cont’d
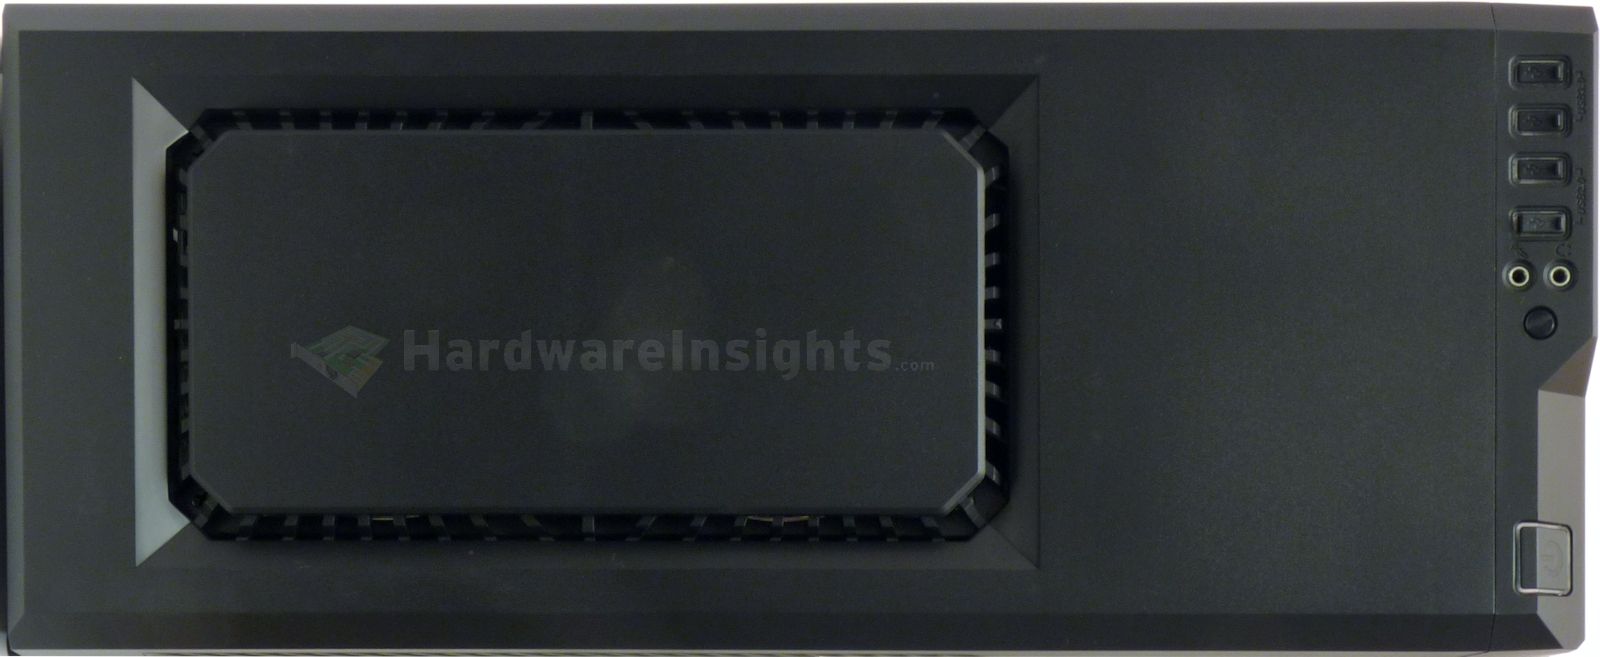
We also have the top part to look at. Zalman somehow decided that the air vents are ugly or what and what the Z9 Neo needs is as little of them as possible. So besides the heavily obstructed front positions we have similar situation with the top panel. There are vents on the sides, as you could have seen in the previous chapter. On the very top there is this strange frame toned thing which also lights with the blue fans.
You can remove it but the improvement is not that huge, the airflow still gets pretty much obstructed and forced through this.
Internals
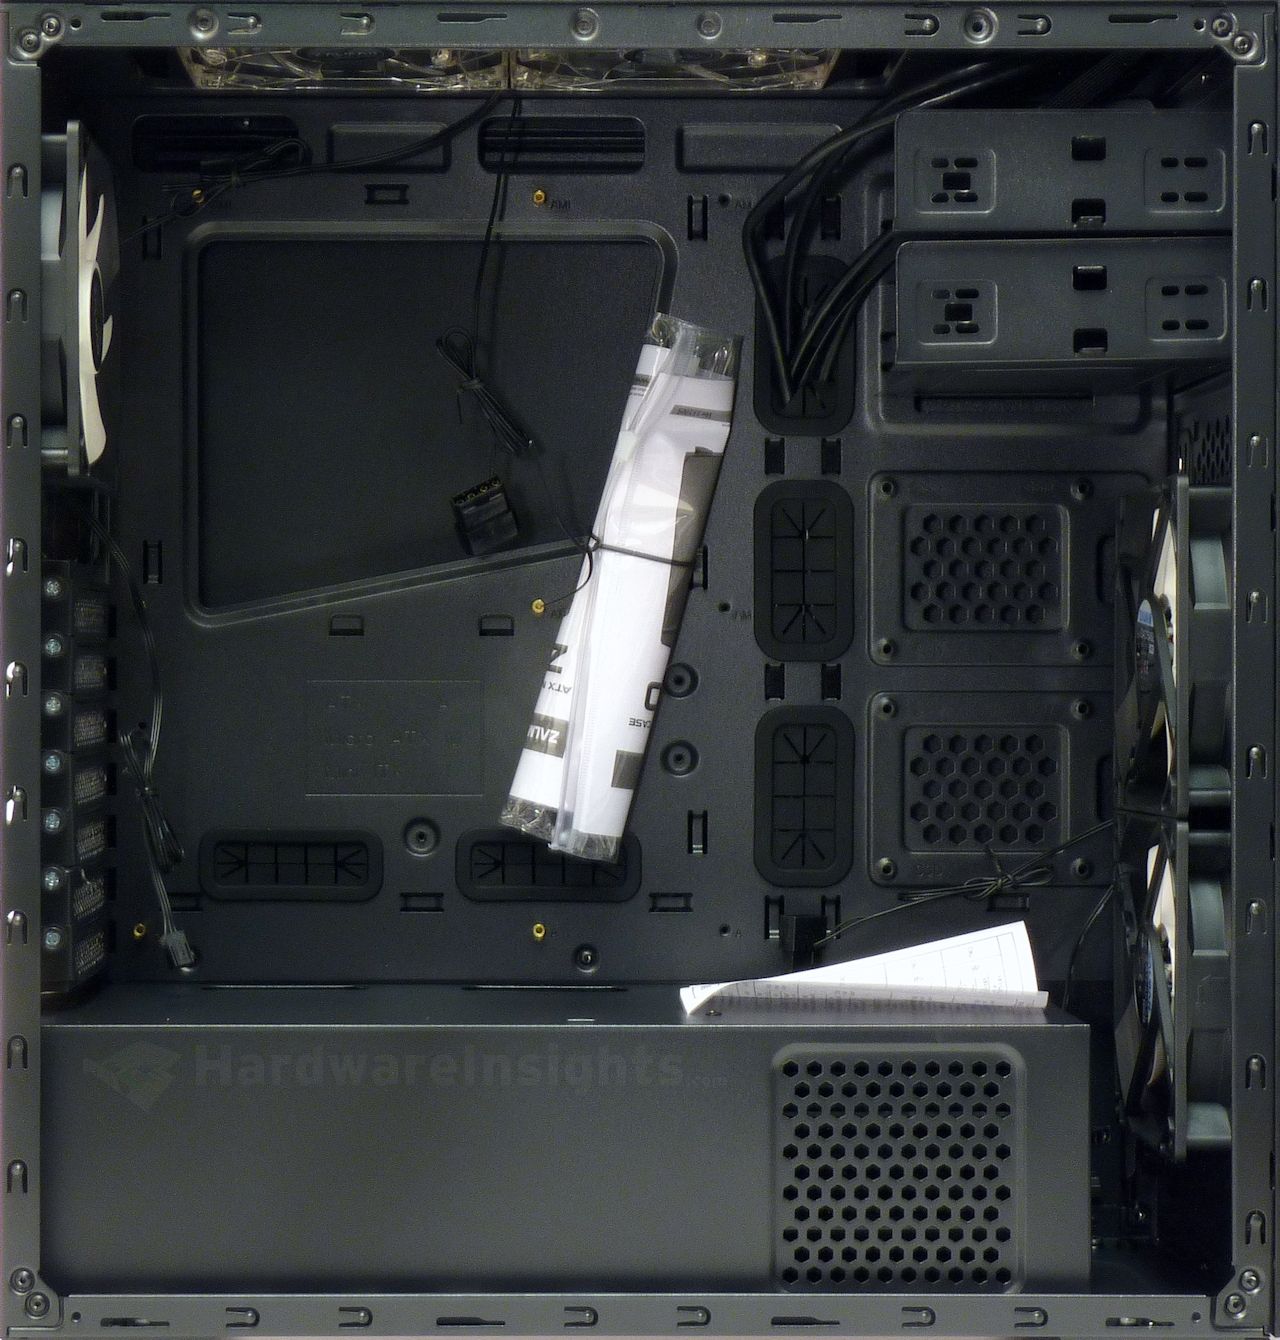
The window in the side panel is totally uninteresting, there is no backlight or anything like that. So lets talk about the case internals right away. Upon first look we can see the bottom compartment for the power supply and two 3.5″ drives. By removing the trays from their usual position there is large space for long expansion cards now. The two 2.5″ positions are directly behind the fans on the main plate. Even if you put the longest graphics cards (or exotic controllers) into the case, there will still be some small space between the plate and the card where these 2.5″ drives fit nicely so this is good idea. The bottom compartment has openings for some cooling. The whole cover is riveted to the skelet so you can not remove it.
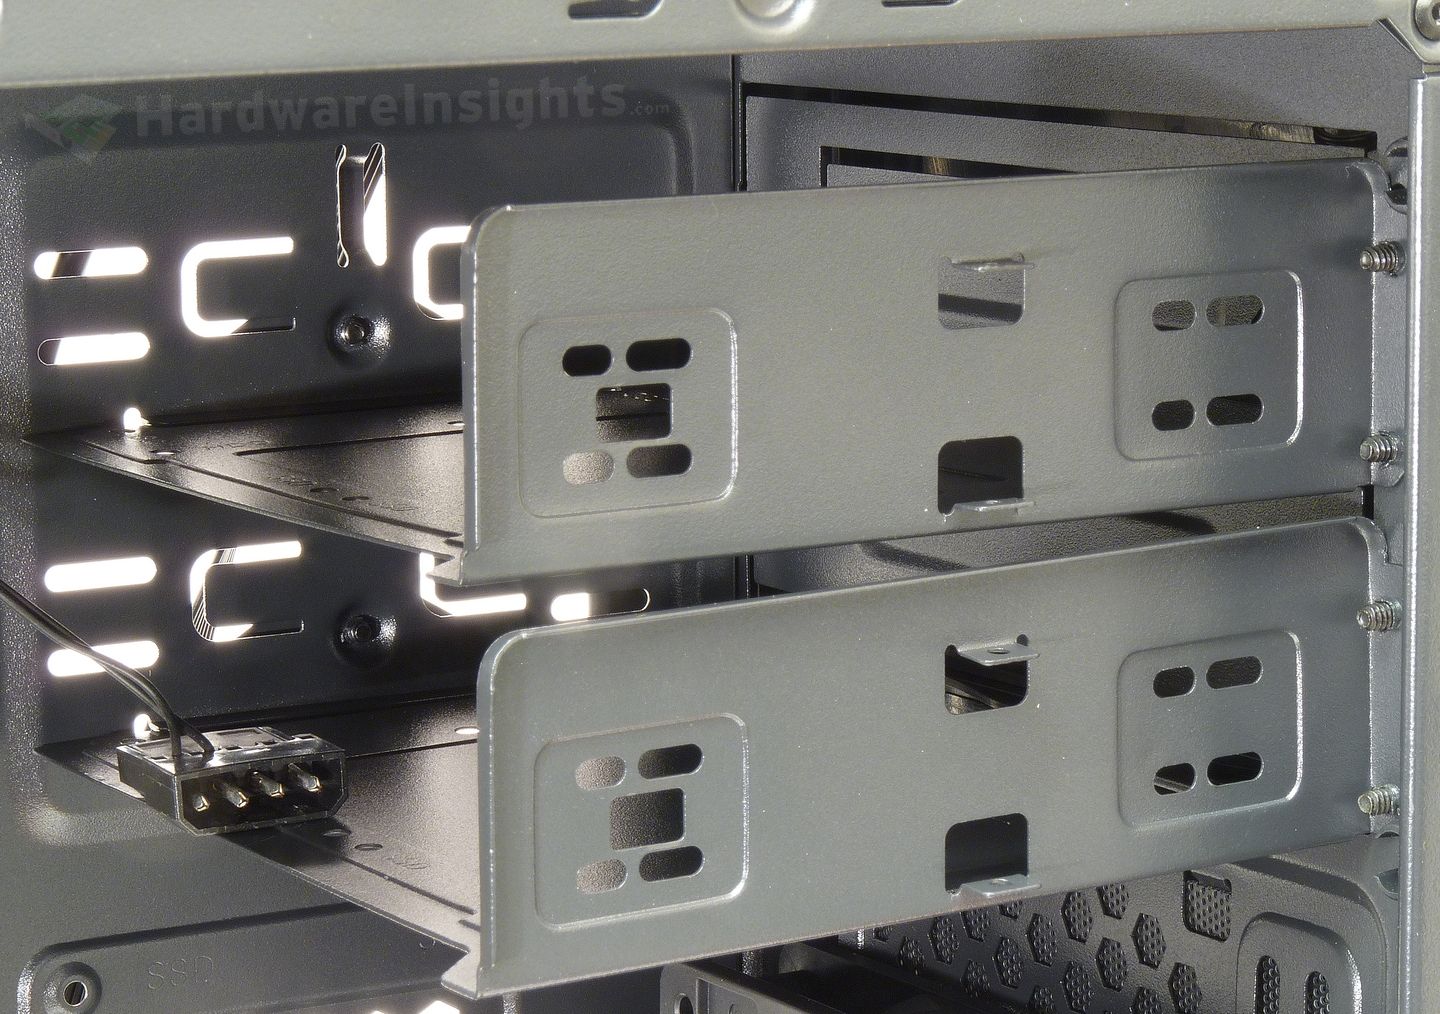
The 5.25″ cages can be removed from the Z9 Neo. I am afraid this is not that good attempt to make them cheap and multi-purpose (more on that later) but the result is poor. I think you can see even on the image the bad shape they arrived in. Both are bent to different direction from each other, which is the result of three factors. Their construction (just an L-shaped piece of metal), the fact they only use three screws to hold in place and also that the metal is just 0.6mm SECC. I am not sure that if you actually put any drive in these cages, that they would provide some support for the drives, or the other way around. I don’t even imagine what the noise and vibration properties of this are like. You can most likely use some of the thumbscrews to install the 5.25″ drives, otherwise you need screwdriver.
To access the 3.5″ trays you need to remove the other side panel. There is very little space over the power supply so as I have stated above, it makes no sense to install it with fan facing upwards as it will have nowhere to get fresh air from. We can see lots of openings for cable installation, which come with rubber blinders. Plus lot of positions good for tying the cables, Zalman also provides three Velcro ties from the factory. The motherboard tray is far from really sturdy. I would say below average, I have encountered worse, but those were paper cases. The whole chassis is reasonably sturdy and does not deform that much when you apply torsion force. But it can be much better, I noticed some give around the rivets. This may be a source of future resonance from vibrations.
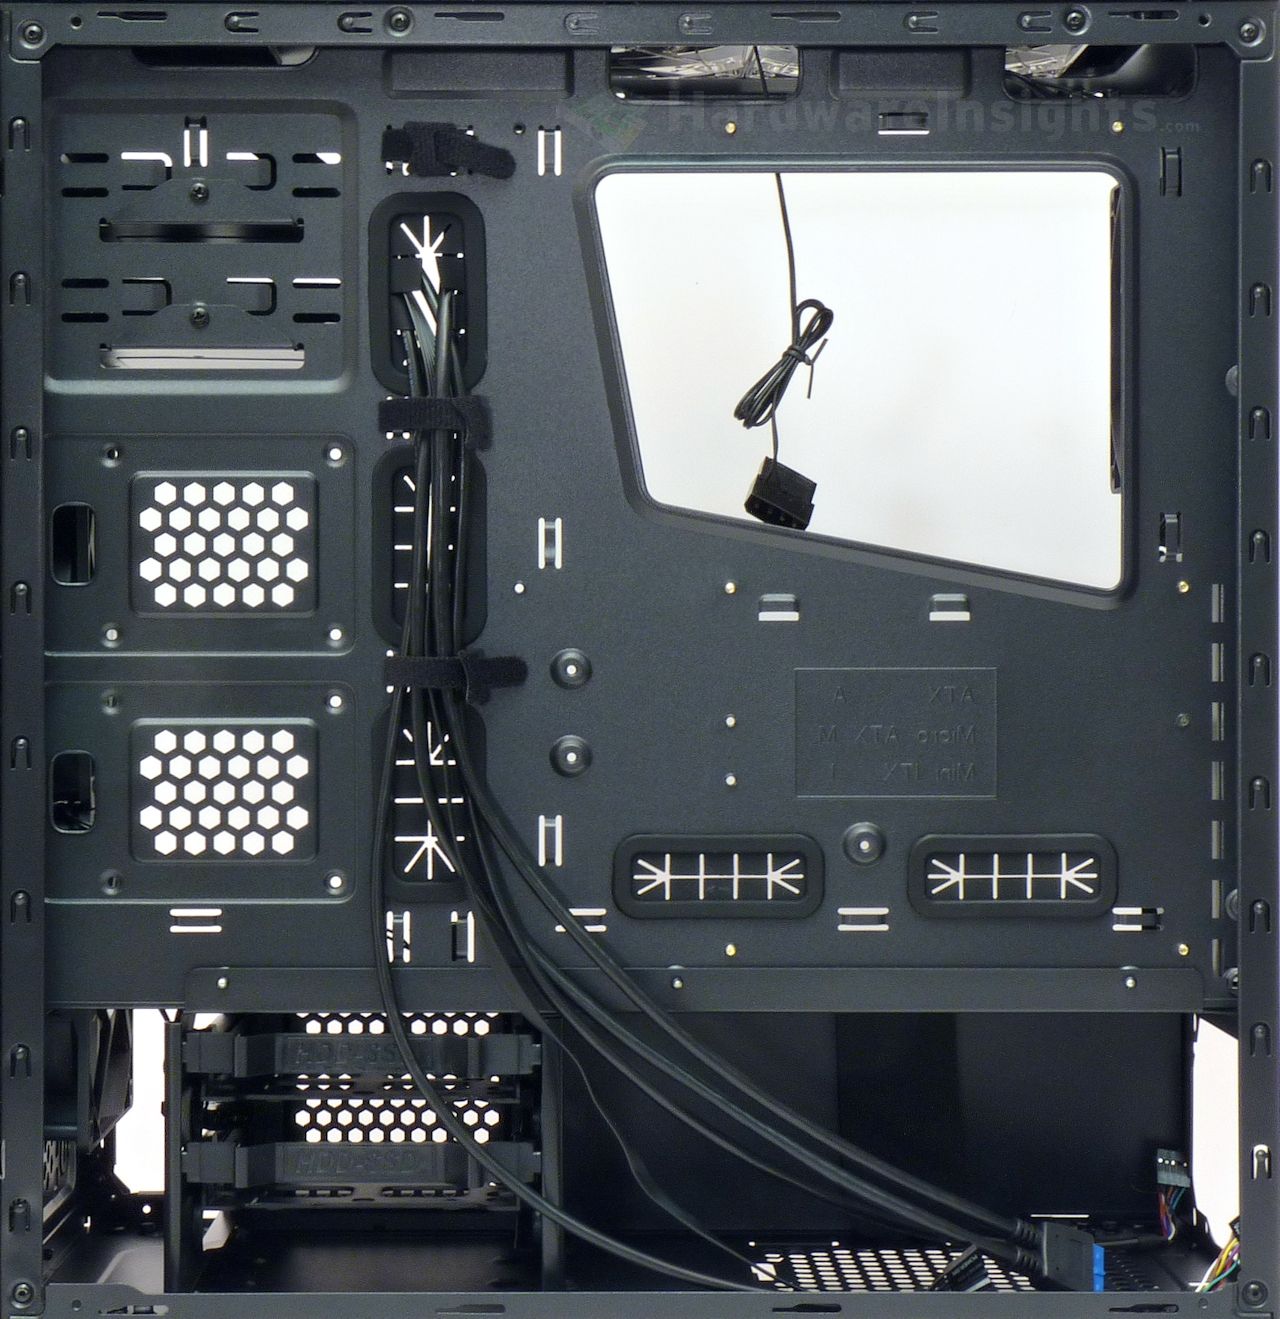
There is also large opening in the motherboard plate to access CPU cooler mounting mechanism. Considering this, the tray sturdiness is not so bad as it could be, but still may be better. As you can see, to install the 2.5″ drives you really need screws and screwdriver, there is no tool-less installation option.